Finish Sample Approval
Jewelry Surface Finish Specifications: A Buyer’s Checklist
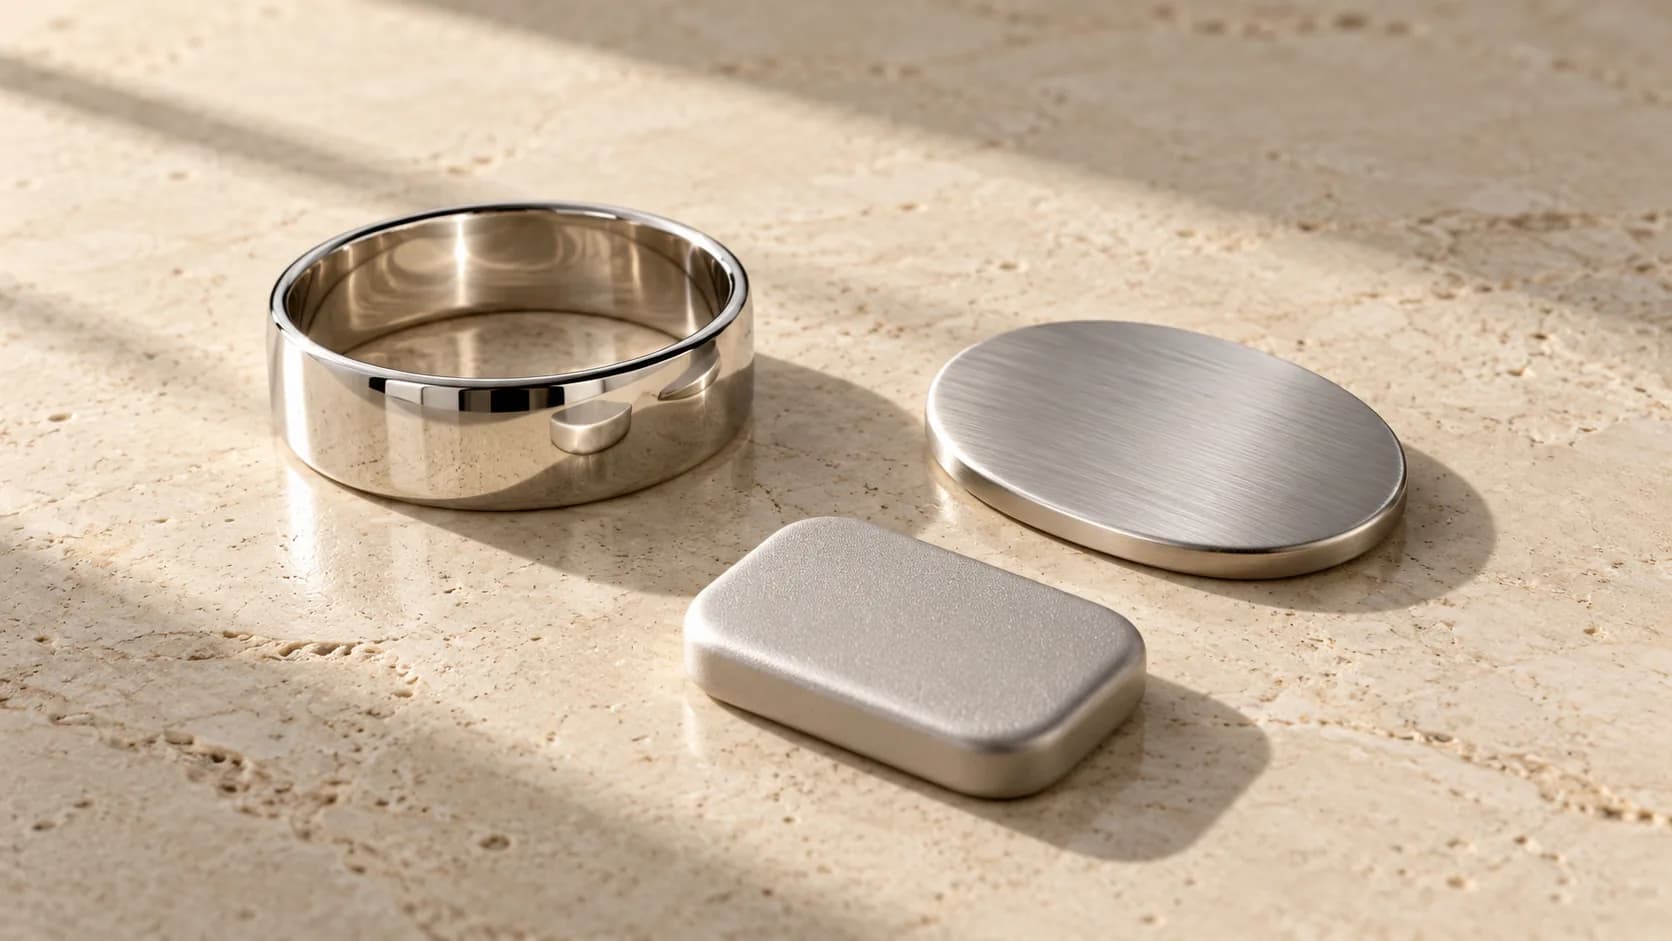
A request for a satin finish can produce several reasonable interpretations. One supplier may show fine directional lines, another a softer non-directional sheen, and a product photograph may hide the difference entirely. Brand buyers need a way to approve the intended appearance without treating a finish name as a complete manufacturing instruction. This guide builds that record around visible regions, grain direction, transitions and an identified physical reference. It separates the base material and coating color from the surface texture, then follows the appearance decision through cleaning, packing and repeat orders. The aim is a reviewable brief for independent brands, developers and wholesale OEM/ODM teams, with unresolved feasibility questions visible before the sample becomes the production reference.
TL;DRThe short answer
Map the intended polish or texture to named regions, define grain direction and boundaries, and ask the supplier to confirm feasibility on the proposed construction. Review the finished physical sample under agreed lighting and angles. Keep master identity, condition, acceptance examples and replacement control together, then check cleaning, packing contact and reorder changes against that version.
Direct answer
What should jewelry surface finish specifications include?
Identify the base material and coating separately, then map each visible region to an intended sheen or texture, grain direction and transition boundary. Reference a finished physical sample and drawing version, agreed viewing conditions, project-specific acceptance examples and decision owner. Include edges, recesses, paired components, cleaning and packing contact, plus rules for master replacement, substitutions and repeat-order comparison.
Decision summary
Key takeaways
- Separate material identity, coating color and physical texture.
- Give every visible region and transition a controlled reference.
- A finish name starts a discussion; it does not settle the actual process.
- Compare physical samples in the same condition and viewing setup.
- Protect master identity and reopen appearance decisions after relevant changes.
Separate the base material, coating and surface appearance
Use three linked fields: what the item is made from, what coating or color system is proposed, and what surface appearance is intended. A reflective silver-tone photograph cannot establish any alloy, coating composition or thickness. A gold-color instruction does not say whether the face is mirror-polished, softly satin or visibly brushed. Keep the material specification and coating record separate so a texture revision does not quietly authorize a material substitution or a new marketing claim.
The plating specification guide handles coating structure and description; this checklist owns regional appearance and its sample record. Haosen’s manufacturer-authored texture guide makes the useful distinction between low shine and directional lines, and asks for a sample in the actual material and coating. Treat that as a design-review question, not proof that the same effect transfers unchanged between substrates. Confirm feasibility and the intended final state with the supplier for each construction rather than claiming every Zalson catalog piece can accept every finish.
Evidence: Haosen Jewelry
Map every visible region, including boundaries and direction
Mark region codes on front, reverse, side and relevant detail views. A ring might need separate face, shoulder, inner-band and edge references; a pendant might need face, rim, bail, back and recess rows. Put an appearance image or physical-reference ID against each code. Use arrows referenced to the article’s orientation for directional brushing: along the long axis, around the form or another explicitly shown direction. ‘Vertical’ is ambiguous if the drawing can be rotated without a front marker.
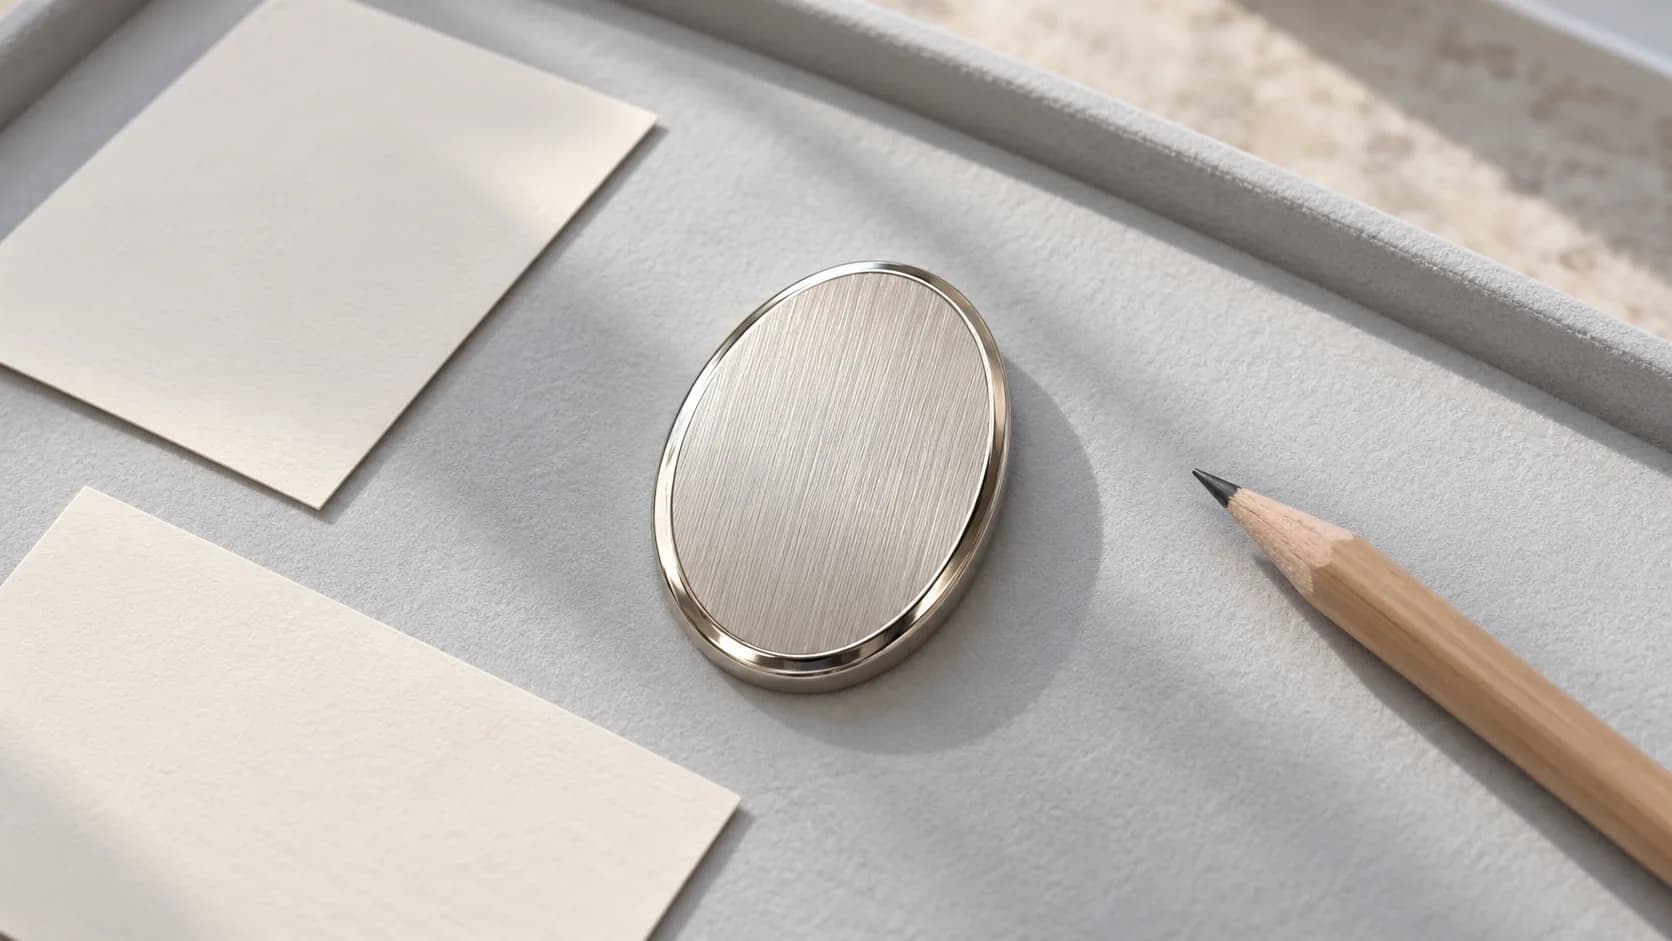
Draw the transition where a textured area meets a polished border. Identify whether the line follows a ridge, groove or drawn boundary and how corners are judged. Give connecting components their own rows when they remain visible. Barry Jewelry’s service page discusses treating regions, narrow borders and matching pieces together; those are useful buyer questions, not borrowed capability promises. Ask for the CAD and sample views needed to show areas hidden in the main render, then resolve uncertain tool access during development.
Evidence: Barry Jewelry
Describe mirror, satin, brushed and blasted effects without prescribing a recipe
Use appearance names as starting vocabulary. A mirror direction asks for a clear reflective result; satin suggests a moderated sheen whose exact texture still needs a reference; brushed points to visible grain; a blasted direction asks for an agreed diffuse texture. Hammered, crosshatched or other effects need their own pattern and scale references. Do not assume that every supplier uses these names identically, or that sandblasting and bead blasting produce the same result. Request the proposed route and a sample rather than selecting a process from a mood-board image.
Tonglin’s October 15 manufacturing article discusses mechanical finish separately from coating and highlights direction and transitions. GIA’s public polishing resource illustrates preparation, polishing and buffing for platinum rings, with separate access to areas inside settings. The GIA examples are specific to their material and construction; their tools and abrasives are not a universal recipe for this project. Ask the supplier which areas can be processed at which assembly stage, what must be protected, and whether the proposed sequence preserves the drawing’s fine features.
Evidence: Tonglin Jewelry; Gemological Institute of America
Resolve backs, edges, recesses and areas near settings
‘Polish all over’ can leave the buyer and supplier disagreeing about recesses, hidden joins and the underside of a setting. Name the intended result for those areas, including any agreed accessibility limit. Identify the edge profile and details that must remain legible, such as a raised motif or fine border. Ask whether the region requires preparation before assembly and which subsequent operations may change it. A finished stone-set sample should represent the intended construction, not only an easy-to-polish empty form.
The GJSCI Jewellery Polisher and Cleaner qualification pack, version 4.0, discusses preserving shape and detail while avoiding excessive polishing. Its public PDF records approval in 2023 and a review date due in February 2026; it is occupational background, not a verified newly revised 2026 product-acceptance standard. No magnification, abrasive grade or dimensional limit is adopted from it here. Keep surface appearance separate from stone security and use the stone setting specification guide for that interface. A good-looking finish does not prove retention or wear performance.
Evidence: Gem & Jewellery Skill Council of India
Fix lighting, viewing angle and sample condition before comparing
Record the light source or viewing setup, background, viewing distance, angles and whether unaided viewing or a specified aid controls a particular decision. Choose conditions appropriate to the actual effect rather than inventing one universal inspection station. Rotate curved pieces through agreed views so a single reflection does not hide a missed area. Compare both samples clean, in the same finished state and with handling marks identified; fingerprints on one sample and a freshly cleaned reference can otherwise create a misleading difference.
Photographs help document the decision but camera exposure, white balance, reflections, sharpening and display settings can alter apparent color or grain. Keep unfiltered overview and detail photographs with the setup record, and label them supporting references. When images conflict, compare the identified physical samples under the agreed conditions before changing the specification. A photograph is not evidence of plating structure, chemical composition, abrasion resistance or corrosion performance. Any requested performance evidence needs a separately agreed scope, method and applicable item or batch reference.
Control the approved master and compare pairs as a set
Give the approved finished sample a master ID, revision, date, custodian and storage record. Link it to the region map and the written decision, including any limited exceptions. If buyer and supplier hold separate references, record how they were compared and accepted together. Protect the master from casual handling, cleaning or refinishing that could change the reference. An older sample is not automatically still suitable: check its condition before a new comparison and record any deterioration without silently resetting the target.
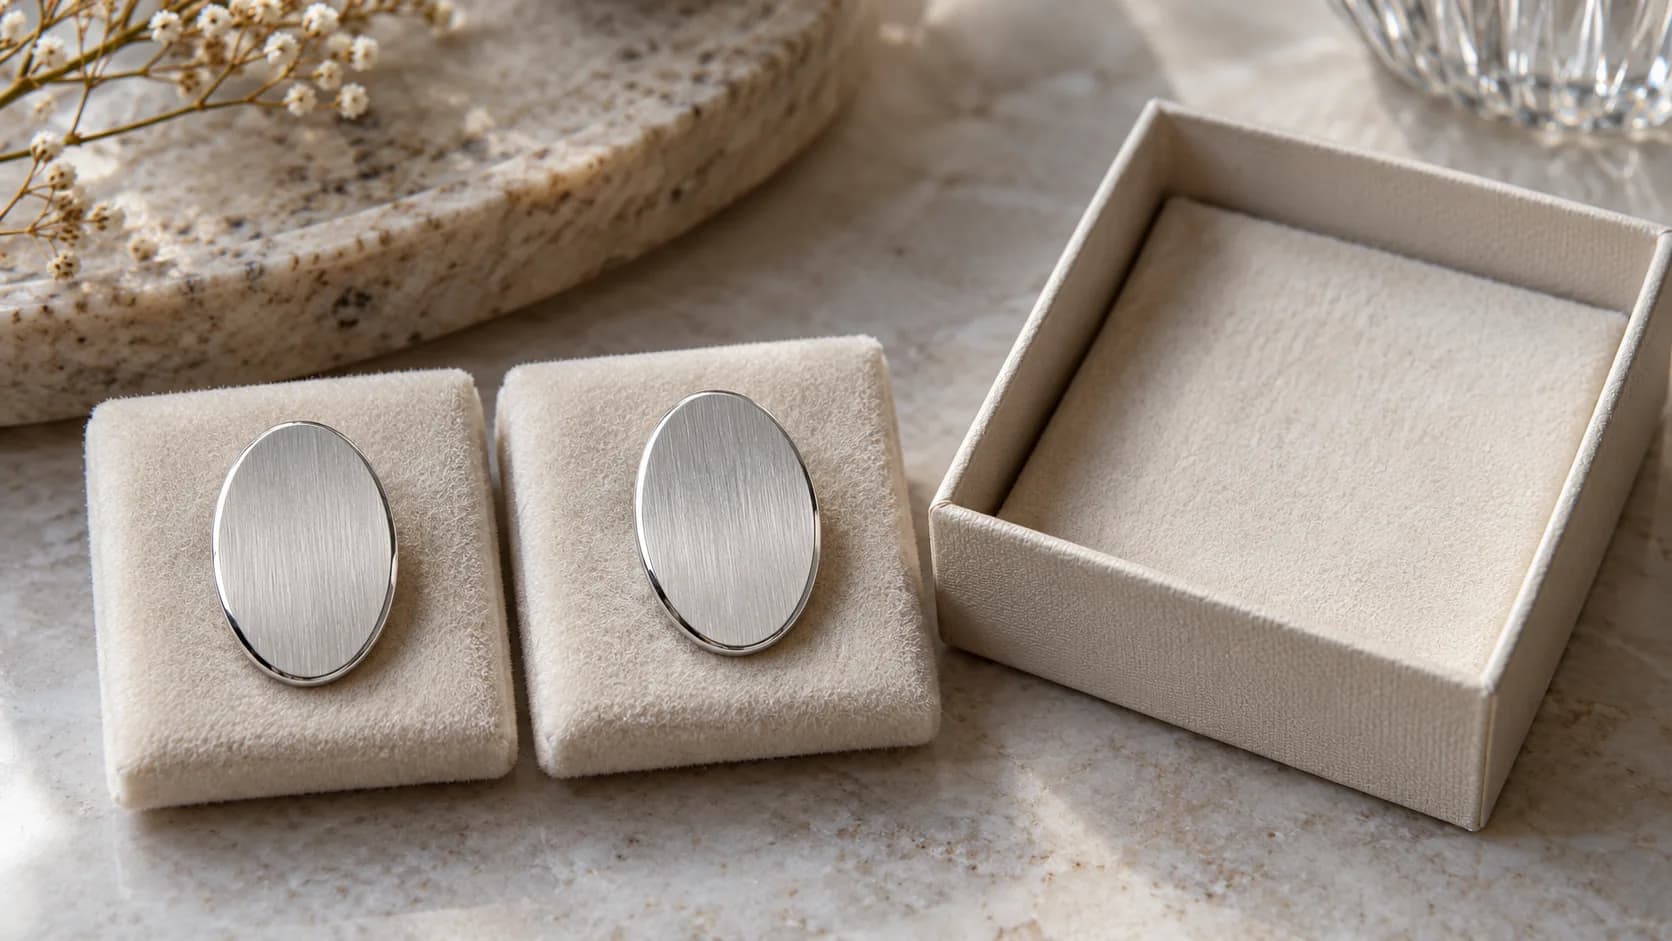
For earrings and coordinated components, compare the pair or set together in the intended orientation. State which differences are intentional: mirrored geometry may change reflected light even when the finish direction is correct. Record each component’s region and the relationship the buyer wants to preserve. Replace a lost or damaged master through a documented comparison and approval, retaining its prior identity and the reason for replacement. The sample approval checklist provides the broader release statuses; the finish record identifies exactly which appearance version those statuses cover.
Make scratches, tool marks and texture differences project-specific decisions
List the observations that matter by region: an unintended scratch across a brushed field, an isolated tool trace near a join, a missed recess, an uneven transition or a texture direction that conflicts with the drawing. Agree which viewing condition controls each judgment and what comparison evidence represents accept, rework or hold. An intentional grain is not automatically a defect, but calling all lines ‘brushing’ cannot excuse an unrelated scratch. Use dated annotated examples or agreed physical limits where a word alone remains ambiguous.
Do not publish an invented universal roughness value, acceptable scratch count or finish lifetime. If instrumental measurements or performance tests are needed, have the qualified provider confirm the edition, method, material and applicability before adding them to the order. The quality control plan handles sampling coverage and disposition; this record supplies the appearance references it needs. If reviewers disagree, reconcile sample identity, cleanliness, lighting and orientation first, then document the unresolved region and next decision instead of replacing the master with whichever sample looks easier to pass.
Complete a blank region and effect worksheet
Build the worksheet from the actual drawing. Give every visible surface a row and mark the desired effect as proposed or confirmed. Attach the physical reference and relevant appearance view, with arrows or boundary callouts where needed. The blank template is intentionally not a factory instruction sheet: it helps the buyer request a feasible proposal and recognize what remains unresolved. A new design may require a new finished reference even when the collection already uses the same finish name.
Read the rows across before approval. The same region code must point to the same drawing, sample, viewing setup and acceptance decision. Keep base-material and coating revisions as linked identities, not inferred facts from a photo. Separate approved directions from process details still under supplier review. Do not let an empty reverse or edge row become an implicit permission to choose any appearance. Record who closes each open question and what physical evidence is required before the finished sample is released.
| Field / region | Buyer direction | Supplier proposal / approved reference |
|---|---|---|
| Identity | Style ___ / SKU ___ / drawing revision ___ | Material record ___ / coating record ___ / sample ___ |
| Visible region ___ | View ___ / desired sheen or texture ___ / image reference ___ | Feasible route ___ / finished master ___ / status ___ |
| Grain / boundary | Direction arrow ___ / transition line ___ | Edge and corner comparison ___ / exceptions ___ |
| Back / edge / recess ___ | Desired effect ___ / preserved details ___ | Access limits ___ / near-setting review ___ |
| Pair / component ___ | Match or intentional difference ___ | Set reference ___ / comparison decision ___ |
| Review / acceptance | Light ___ / angle ___ / distance ___ / sample state ___ | Accept / rework / hold examples ___ / coverage ___ |
| Master / change | Custodian ___ / condition ___ / packing contact ___ | Version ___ / replacement approval ___ / actual date ___ |
Compare finish scenarios and check the packing contact
Use the comparison to identify the decision that can disappear behind a broad finish label. A large reflective face needs different observation from fine grain in a recess. A polished border needs a transition reference. A pair needs a set comparison, and a repeat order needs an identified master in suitable condition. These are project review prompts, not claims that every pictured treatment is available for every base material, geometry or order.
Ask the supplier to confirm cleaning compatible with the actual stones, coating and texture. Identify surfaces that touch an insert, pouch, separator or another component, then inspect an agreed packed and unpacked sample for appearance changes. Record shipping or handling review conditions and observations separately from a controlled abrasion test. The packaging checklist handles the pack specification. If a contact mark appears after transport, preserve the item, pack and receipt condition for review rather than polishing away the evidence before its cause is investigated.
| Scenario | Record | Review question |
|---|---|---|
| Mirror face | Reflection views and preparation-mark examples | Is the intended appearance present across the face? |
| Brushed face / polished border | Grain arrows and transition callouts | Are direction and boundary consistent with the master? |
| Recessed or stone-set piece | Access limits and protected detail views | Were the agreed hidden and adjacent areas resolved? |
| Paired components | Complete set with orientation and region codes | Do the two pieces express the approved relationship? |
| Packed sample / reorder | Contact map, unpacking state and master version | Has handling or a changed input altered the reference appearance? |
Release the finish version and preserve it for reorders
Before releasing an OEM jewelry finish brief, reconcile the master, regional worksheet, material and coating records with the actual finished sample. Ask the supplier to identify any change in route, component source or construction that needs renewed comparison. A reorder should cite the approved version, not simply ‘same as last time.’ Review a new sample when the relevant input or master condition has changed; do not assume a previous photograph proves the new batch will match.
Use the design change request for affected regions, stock, quantities and approval authority, and connect the outcome to the production lead-time plan. The reorder checklist covers wider commercial reconfirmation. The real catalog products below show different visible forms for a discussion; they do not prove an unpublished texture, process or performance. Send the team the product URL, region map, reference and open questions to assess the proposed material and sample route before a production promise is made.
- Separate base material, coating identity and texture.
- Map front, reverse, edge, recess and connecting components.
- Approve direction arrows, transitions and feasible access.
- Compare the finished sample and pairs in a documented setup.
- Record scratches, tool traces and texture limits for this project.
- Confirm master custody, cleaning, packing contact and reorder control.
1. Map
Assign region codes and desired appearances.
2. Propose
Resolve feasibility, direction and access with the supplier.
3. Sample
Identify the finished construction and linked input versions.
4. Compare
Use agreed viewing conditions, pairs and acceptance examples.
5. Release
Approve master, worksheet, cleaning and packing reference.
6. Repeat
Review changes and authorize master replacement explicitly.
Catalog references
Related products
These real catalog products are visual and construction references for specification discussions. Their published product data is unchanged; they are not presented as the exact product used in this guide.
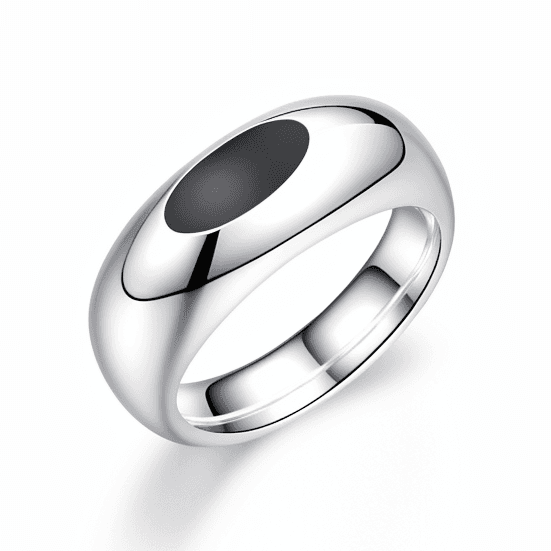
Black Onyx Inlay High-Polish Signet Ring
S925 Sterling Silver, Rhodium Plated, Matte Black Onyx
View product →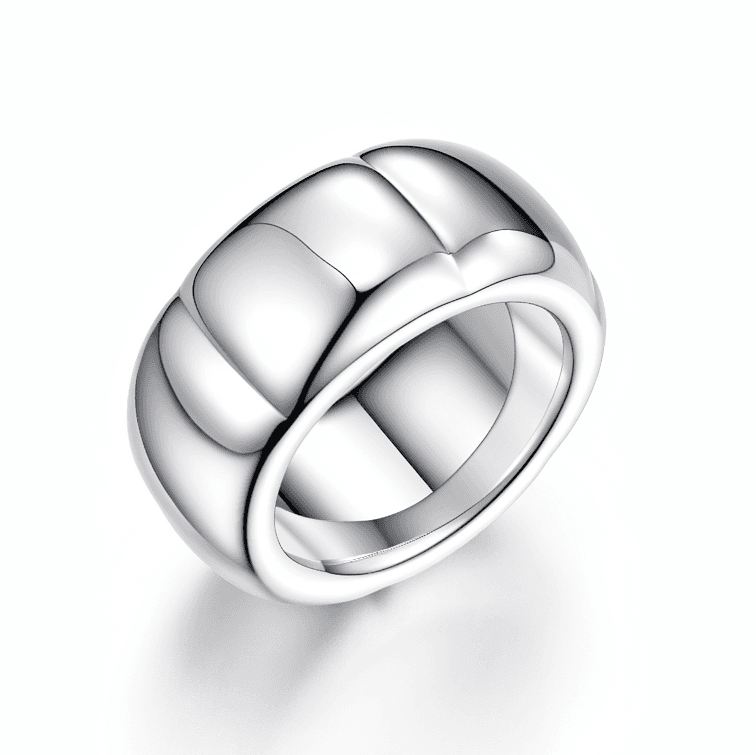
Wide Grooved Dome Band Signet Ring
S925 Sterling Silver, Rhodium Plated, High Polish Dome
View product →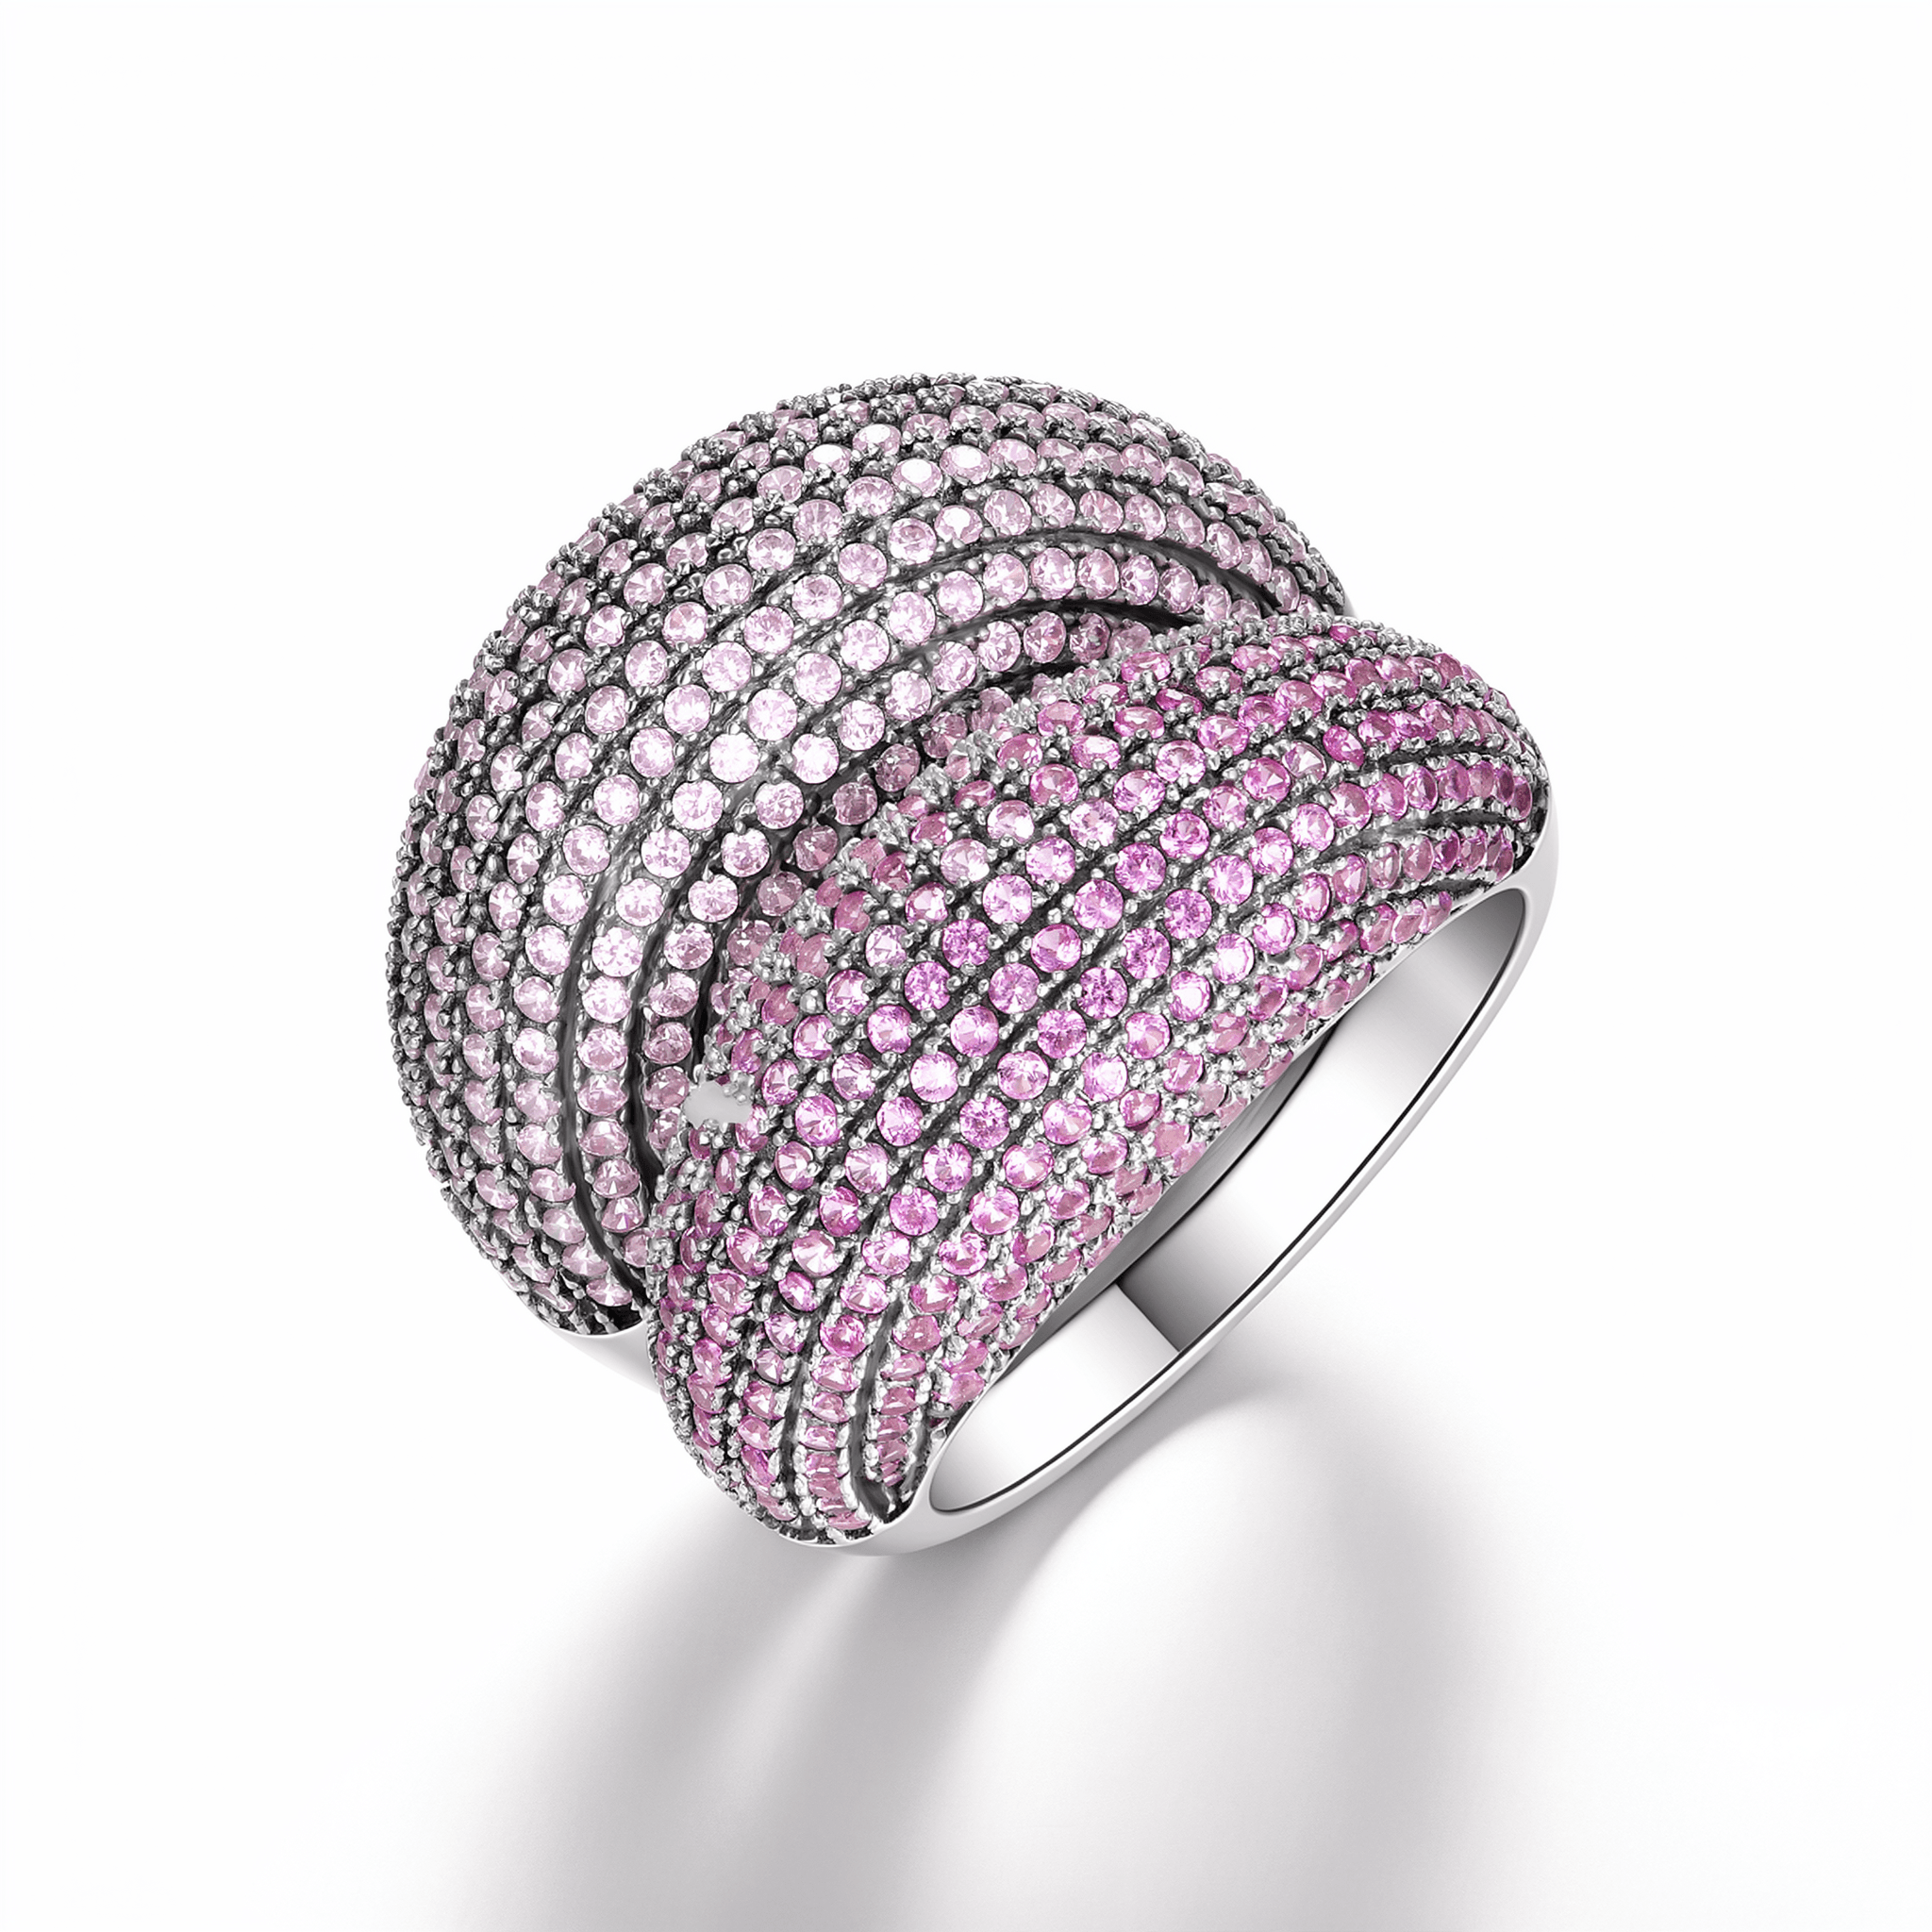
Pink CZ Swirl Twist Pave Cocktail Ring
S925 Sterling Silver, Rhodium Plated, Full Pave Pink CZ
View product →FAQ
Frequently asked questions
Are satin, matte and brushed finishes interchangeable specifications?
No. Suppliers may use the words differently. Describe the intended sheen, grain and coverage by region, then approve a physical sample. Where direction matters, show it relative to the product’s orientation rather than relying on a finish name alone.
Does a surface-finish photograph prove the plating or material?
No. A photograph supports appearance discussion only. Lighting and image processing can change the impression. Keep alloy, coating and any performance evidence in separately identified records for the actual proposed item or batch.
How should a polished border and brushed face be specified?
Give the face and border separate region codes, show the grain direction and transition boundary on controlled views, and identify corner and edge expectations. Ask the supplier to confirm feasibility and compare the complete finished sample with the approved reference.
What makes a scratch or texture difference unacceptable?
The project’s agreed regional criteria, viewing conditions and reference examples control that decision. Distinguish intentional grain from unintended marks. Reconcile sample identity, condition and viewing setup when opinions differ; this guide supplies no universal scratch count or roughness limit.
How can a brand control finish consistency on a reorder?
Cite the master ID, region worksheet and material/coating revisions, check the master’s condition and disclose changed inputs. Compare affected finished samples, including paired pieces and packing contact. Authorize any replacement master explicitly and retain the old version history.
Expert review
Zalson Jewelry Product Development & Quality Team
Technical editorial team
Buyer-side specification, reference control and sample-record editorial review. This guide does not report an actual product measurement, fit trial, factory inspection, material analysis, wear test or approved production sample.
Zalson Jewelry is operated by Guangzhou Zalson Jewelry Co., Ltd., established in Guangzhou in 2017. Content is reviewed by the team rather than attributed to an individual spokesperson.
Sources and further reading
- 1Gemological Institute of America: Prefinishing, Polishing and Buffing — platinum-specific examples ↗
- 2Gem & Jewellery Skill Council of India: Jewellery Polisher and Cleaner — qualification pack v4.0; occupational background ↗
- 3Tonglin Jewelry: Jewelry Surface Finishes in Manufacturing — October 15, 2026 ↗
- 4Barry Jewelry: Surface Finishing — regional and sample-review questions ↗
- 5Haosen Jewelry: Surface Texture Guide — finish names and physical references ↗
Approve a specific appearance